In the dynamic heart of every home, the kitchen sink stands as a testament to daily life – a hub of activity, sustenance, and often, overlooked vulnerability. While gleaming countertops and state-of-the-art appliances frequently capture our admiration, the silent workhorse, your kitchen sink grout, quietly battles against moisture, detergents, and daily wear. Neglected grout is not merely an aesthetic flaw; it’s a potential gateway to deeper, more insidious issues, ranging from unsightly mold growth to significant structural damage. Yet, with a forward-thinking approach and the right techniques, rejuvenating this critical component is not only achievable but remarkably empowering.
The integrity of your kitchen sink’s grout acts as a vital protective barrier, shielding underlying surfaces from the relentless assault of water. Over time, however, this steadfast defense can falter. Constant exposure to splashing, the abrasive action of cleaning chemicals, and even subtle temperature fluctuations cause grout to crack, crumble, or dislodge. This compromise transforms a minor cosmetic imperfection into a serious functional vulnerability, inviting moisture to seep into cabinetry and subflooring, potentially fostering mildew, rot, and an environment conducive to pests. Proactively addressing these early signs of deterioration is paramount, ensuring the longevity and hygienic sanctity of your culinary domain.
| Aspect | Description |
|---|---|
| Common Grout Problems | Cracking, crumbling, discoloration, mold/mildew growth, loose sections, water penetration. |
| Impact of Neglect | Unsanitary conditions, structural damage to cabinetry and subflooring, pest infestation, unpleasant odors, diminished property value. |
| Key Repair Stages | Grout removal, surface cleaning, new grout application, curing, sealing. |
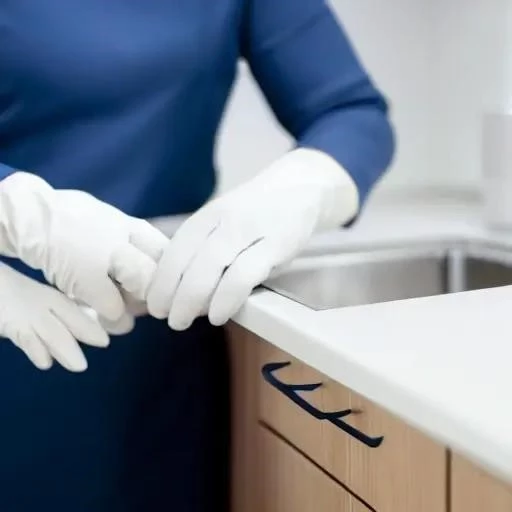
| Essential Tools & Materials | Grout saw/removal tool, utility knife, protective eyewear, gloves, sponges, bucket, grout float, new grout (sanded/unsanded), grout sealer, painter’s tape, cleaning solution. |
| Prevention & Maintenance | Regular cleaning, prompt spill cleanup, periodic re-sealing, adequate ventilation, using appropriate cleaning agents. |
| Reference for Best Practices | Tile Council of North America (TCNA) ー Note: This link provides general industry standards for tile and grout, not specific DIY repair guides. |
Repairing kitchen sink grout is more than just a home improvement task; it’s an investment in your kitchen’s health and aesthetic appeal. Industry experts consistently emphasize the importance of meticulous preparation. Before any new grout can be applied, the old, compromised material must be thoroughly removed. Utilizing a specialized grout saw or a sturdy utility knife, carefully excise the failing grout, taking great pains not to damage the surrounding tiles or the sink’s edge. This foundational step, often underestimated, dictates the ultimate success and durability of your repair. Having cleared the old grout, a comprehensive cleaning of the exposed area is indispensable, ensuring no lingering debris, grease, or mildew will impede the adhesion of the fresh grout.
Once the surface is pristine and completely dry, the exciting phase of applying new grout begins. Choosing the correct type of grout – sanded for wider joints (1/8 inch or more) to prevent shrinkage and cracking, or unsanded for narrower gaps – is a critical decision, directly influencing the finish and longevity. Mixing the grout according to manufacturer specifications is crucial, aiming for a consistency akin to peanut butter, ensuring optimal workability and adhesion. With a grout float, press the new material firmly into the joints, working diagonally across the tiles to achieve full penetration and a smooth, consistent fill. This technique, mastered through practice, guarantees a professional-looking result, seamlessly integrating the repair into your existing tile work.
After the grout has been applied, allow it a brief period to set, typically 15-30 minutes, before gently wiping away any excess haze from the tile surfaces with a damp sponge. This process, known as “tooling” and “cleaning,” reveals the clean lines of your refreshed grout. The most pivotal step for long-term protection, however, follows the initial curing period (usually 24-72 hours): sealing. Applying a high-quality grout sealer creates an invisible, water-repellent barrier, dramatically extending the grout’s lifespan and making it significantly easier to clean. This crucial preventative measure safeguards against future moisture infiltration and the stubborn resurgence of mold, transforming a temporary fix into a lasting solution.
The benefits of a well-executed grout repair extend far beyond mere aesthetics. By integrating insights from professional contractors and adopting best practices, homeowners can proactively prevent costly water damage, enhance kitchen hygiene, and significantly bolster their property’s value. Think of it as fortifying the very foundations of your daily life, ensuring a clean, safe, and beautiful environment where culinary creations and cherished memories can flourish without the looming threat of hidden decay. Embracing this essential maintenance not only revitalizes your kitchen’s appearance but also champions a healthier, more resilient home for years to come.