In the realm of modern technology, laptops have become indispensable tools, bridging the gap between work, entertainment, and communication. Among the myriad brands available, HP laptops are a popular choice, known for their reliability and diverse features. However, for new users or those less familiar with the device, the simple act of powering on an HP laptop can sometimes be a point of confusion. This guide aims to demystify the process, ensuring a smooth transition into the digital world with your HP device.
Turning on your HP laptop is a straightforward procedure, yet understanding the nuances can enhance your user experience. Whether you’re booting up for the first time or simply waking your device from sleep mode, each step is designed for simplicity and efficiency. This article will walk you through the essential steps, accompanied by helpful tips and additional information to ensure you can confidently power on your HP laptop every time.
| Category | Information |
| :——————- | :———————————————————————————————————————————————————————————————————————————————————————————————————————————————————————————————————————————————————————– |
| **Device** | HP Laptop (specific model may vary) |
| **Power Button** | Typically located on the top edge of the keyboard deck, above the keyboard, or on the side of the laptop. It often features a power symbol (a circle with a vertical line through the top half). |
| **Power Source** | Ensure the laptop is connected to a power source via the AC adapter or has a sufficient charge in its battery. |
| **Boot Process** | Upon pressing the power button, the laptop initiates its boot sequence, loading the operating system (e.g., Windows). This may include a manufacturer logo screen followed by the login screen. |
| **Operating System** | Most HP laptops come with Windows pre-installed. The exact version may vary (e.g., Windows 10, Windows 11). |
| **Login** | Once the operating system has loaded, you will typically be prompted to enter a password, PIN, or use biometric authentication (like a fingerprint scanner, if available) to log in to your user account. |
| **Troubleshooting** | If the laptop does not turn on, check the power adapter connection, try a different power outlet, or consult the HP support website for specific model troubleshooting. |
| **Reference Link** | [https://support.hp.com/](https://support.hp.com/) |
## Powering On Your HP Laptop: A Step-by-Step Guide
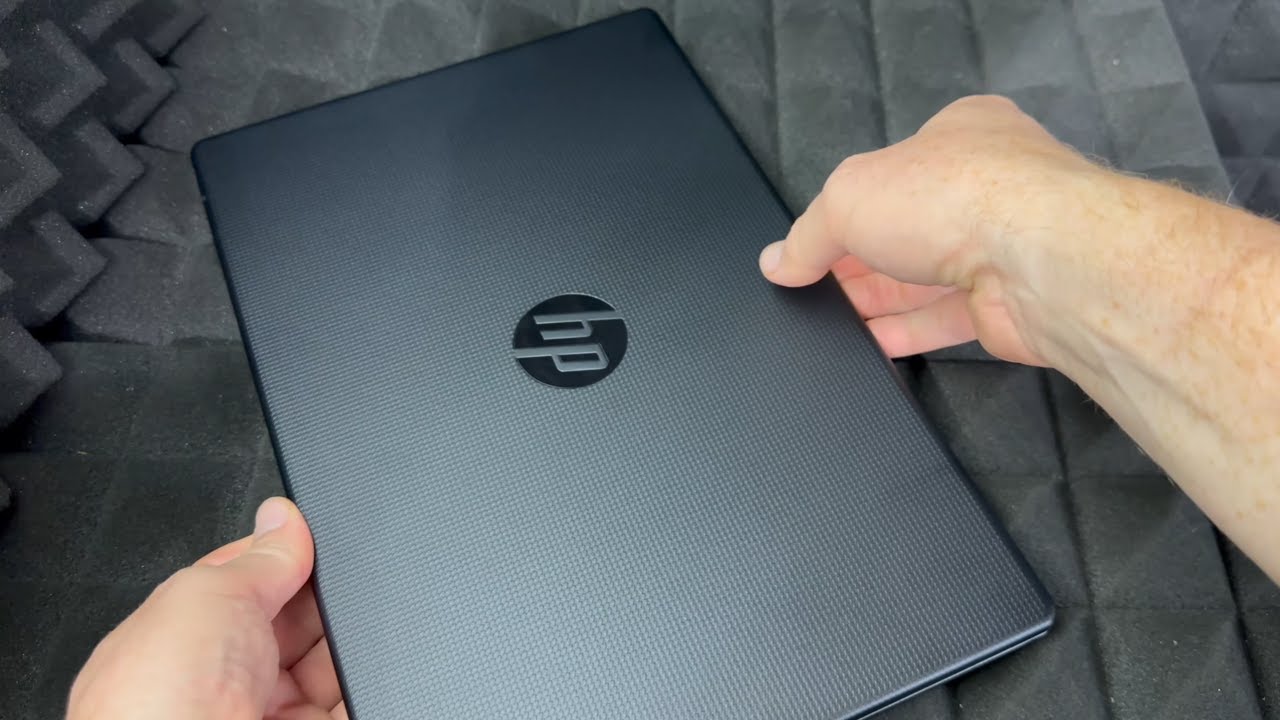
The journey to powering on your HP laptop begins with a clear understanding of its physical layout and the function of its key components. The most crucial of these is the power button, the gateway to your digital experience.
### Locating the Power Button
HP has standardized the placement of the power button across many of its laptop models. In most cases, you will find it:
* On the keyboard deck, usually above the keyboard, often to the left or right side.
* Integrated into the keyboard itself, sometimes as a dedicated key.
* On the side edge of the laptop, near the USB ports or other connectivity options.
The power button is universally identifiable by its symbol: a circle with a vertical line cutting through the top half of the circle. This symbol is a universal icon for power on/off functions.
### The Power-On Sequence
Once you’ve located the power button, the next step is to press it firmly for a brief moment.
1. **Press and Release:** A single, short press is usually sufficient. Holding the button down for an extended period might initiate a hard shutdown, which is not what you want when turning the device on.
2. **Observe Indicators:** Upon pressing the button, you should see indicator lights illuminate on the laptop, and you may hear the fan noise as the system begins its startup process.
3. **The Boot Screen:** The screen will typically display the HP logo, followed by the operating system’s loading screen. This process can take anywhere from a few seconds to a couple of minutes, depending on your laptop’s specifications and whether it’s a cold boot or a wake from sleep.
> **Factoid:** Modern laptops often feature fast-boot technologies that significantly reduce boot times by optimizing the startup sequence and only loading essential drivers and services initially.
### Ensuring Proper Power Supply
Before attempting to power on your laptop, it’s essential to confirm it has adequate power.
* **AC Adapter:** Connect the HP-provided AC adapter to your laptop and a working wall outlet. The charging indicator light on the laptop should illuminate, signifying that it’s receiving power.
* **Battery Charge:** If you are running on battery power, ensure it has a sufficient charge. A low battery can prevent the laptop from powering on.
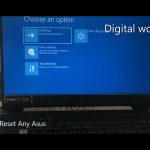
## Navigating the Boot Process and Login
After successfully powering on your HP laptop, the operating system will take over, guiding you through the initial stages of use.
### Understanding the Boot Process
The boot process is an intricate sequence of events that loads the operating system into the laptop’s memory.
* **BIOS/UEFI Initialization:** The system’s firmware (BIOS or UEFI) performs a Power-On Self-Test (POST) to check hardware components.
* **Operating System Loading:** The firmware then locates and loads the operating system from the storage drive (SSD or HDD).
* **Login Screen:** Finally, the login screen appears, where you’ll authenticate your identity to access your user profile and the laptop’s full functionality.
> **Factoid:** UEFI (Unified Extensible Firmware Interface) is a modern replacement for the traditional BIOS. It offers faster boot times, better security features, and support for larger storage drives compared to BIOS.
### Logging In to Your HP Laptop
The login process is a critical security step to protect your personal data.
* **Password/PIN:** If you’ve set up a password or PIN, enter it carefully in the provided field.
* **Biometric Authentication:** If your HP laptop is equipped with a fingerprint reader or facial recognition, follow the on-screen prompts to use these methods.
* **Account Options:** Depending on your Windows setup, you might have options like a Microsoft account login or a local account login.
## Frequently Asked Questions (FAQ)
**Q1: My HP laptop won’t turn on. What should I do?**
A1: First, ensure the AC adapter is securely connected to both the laptop and a working power outlet. Try a different outlet if possible. If the laptop is fully charged and still won’t turn on, there might be a hardware issue, and you should contact HP support.
**Q2: How long does it usually take for an HP laptop to boot up?**
A2: Boot-up times can vary significantly based on the laptop’s hardware, especially the type of storage drive (SSD vs. HDD) and the amount of RAM. Typically, with an SSD, boot times can range from 10-30 seconds. With an HDD, it might take longer, possibly 1-3 minutes.
**Q3: What is the difference between shutting down and sleeping my HP laptop?**
A3: Shutting down completely turns off the laptop, closing all applications and conserving battery. Sleeping puts the laptop into a low-power state where it uses minimal energy, allowing you to resume your work quickly by waking it up.
**Q4: Can I turn on my HP laptop without plugging it in?**
A4: Yes, as long as the laptop’s battery has a sufficient charge, you can turn it on and use it without being connected to the AC adapter. However, for extended use or to recharge the battery, you will need to plug it in.
### Tips for a Smooth Startup Experience
* **Keep Software Updated:** Regularly update your operating system and drivers. This ensures optimal performance and can resolve potential startup issues.
* **Avoid Overheating:** Ensure your laptop’s vents are clear and not obstructed. Overheating can cause performance issues and even prevent startups.
* **External Devices:** Disconnecting unnecessary external devices (like USB drives or external hard drives) before booting can sometimes help troubleshoot startup problems.
By following these steps and tips, you can confidently power on and begin using your HP laptop, unlocking a world of productivity and entertainment.