How to Remove a Broken Bolt: A Comprehensive Guide for WordPress Users
Removing a broken bolt can be a frustrating but common problem for DIY enthusiasts and professional mechanics alike. Whether it’s a stubborn bolt that snapped off during removal or one that’s rusted in place, knowing the right techniques can save you time, effort, and potential further damage. This guide will walk you through various methods for removing broken bolts, tailored for WordPress users looking to tackle this issue head-on. From simple lubrication to more advanced extraction tools, we’ll cover it all to help you get your project back on track.
Understanding the Challenge of Broken Bolts
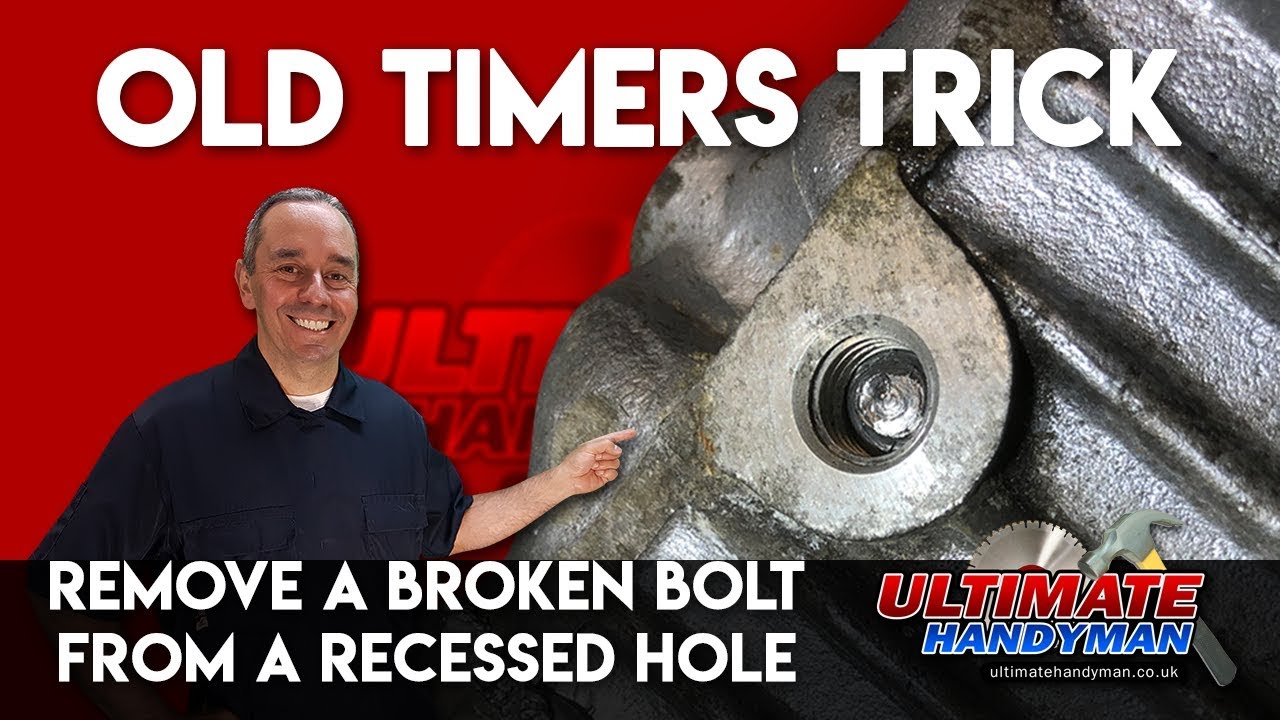
A broken bolt presents a unique challenge because the head is missing, making it impossible to use standard wrenches or sockets. The remaining stud is often flush with the surface, or even recessed, requiring specialized techniques. The material of the bolt, the surrounding material, and the reason it broke in the first place all play a role in determining the best removal strategy. Patience and the right approach are key to a successful extraction without causing further damage to the workpiece.
Why Bolts Break and Common Scenarios
Bolts can break for a number of reasons. Over-tightening is a frequent culprit, leading to stress fractures. Corrosion and rust can weaken the bolt material, causing it to shear under normal torque. Sometimes, the wrong type of bolt is used for the application, leading to premature failure. Common scenarios include:
* **Exhaust Manifold Bolts:** These are prone to breaking due to heat cycles and corrosion.
* **Engine Components:** Bolts holding together engine parts can be subjected to extreme stress and temperature changes.
* **Furniture Assembly:** Sometimes, screws can snap during assembly or disassembly of furniture.
* **Outdoor Equipment:** Bolts on lawnmowers, bicycles, or other outdoor gear are susceptible to rust and breakage.
Essential Tools and Preparation
Before you begin, gather the necessary tools and prepare the work area. Having the right equipment on hand will make the process smoother and more effective.
* **Safety Gear:** Always wear safety glasses and gloves.
* **Penetrating Oil:** Essential for loosening rusted bolts.
* **Drill and Drill Bits:** Various sizes, including left-hand drill bits.
* **Screw Extractors:** Also known as bolt extractors or easy-outs.
* **Center Punch:** To create a starting point for drilling.
* **Hammer:** For persuading stubborn bolts.
* **Pliers/Vise Grips:** For gripping protruding bolts.
* **Welder (Optional):** For more advanced techniques.
Prepare the area by cleaning away any dirt, rust, or debris. If the bolt is flush or recessed, you may need to create a clean surface around it.
Method 1: The Penetrating Oil and Tapping Technique
This is often the first approach for bolts that have broken due to rust or seizing.
1. **Apply Penetrating Oil:** Generously spray a quality penetrating oil onto the broken bolt and the surrounding area.
2. **Wait and Tap:** Allow the oil to soak in for at least 15-30 minutes, or longer for severely rusted bolts. Gently tap the area around the bolt with a hammer. This vibration can help the penetrating oil work its way into the threads and break the rust bond.
3. **Repeat:** Reapply the oil and tap periodically over a few hours or even overnight if necessary.
The key to this method is patience. Rushing the process can lead to more frustration and potential damage.
Method 2: Using Screw Extractors
Screw extractors are specifically designed to grip and remove broken bolts.
1. **Drill a Pilot Hole:** Use a center punch to mark the exact center of the broken bolt. Then, carefully drill a pilot hole into the center of the bolt. The size of the drill bit depends on the size of the screw extractor you’ll be using – refer to the extractor set’s instructions. Left-hand drill bits are ideal here, as they can sometimes catch the bolt and unscrew it as you drill.
2. **Insert the Extractor:** Tap the screw extractor gently into the drilled hole with a hammer.
3. **Turn and Extract:** Using a tap wrench or adjustable wrench, slowly and steadily turn the extractor counter-clockwise. Apply firm, even pressure. If the bolt begins to loosen, continue turning until it’s free. If it feels like it might break, stop and reassess.
## Method 3: The Nut and Weld Technique (Advanced)
This method is highly effective for bolts broken flush or slightly recessed, provided you have access to a welder.
1. **Place a Nut:** Find a nut that is slightly larger than the diameter of the broken bolt. The internal diameter of the nut should be just large enough to fit over the bolt stud.
2. **Weld the Nut:** Place the nut over the broken bolt and carefully weld the inside edge of the nut to the top of the broken bolt. Ensure a strong weld is achieved.
3. **Allow to Cool:** Let the weld cool for a few minutes. The heat from welding can also help break the rust bond.
4. **Remove the Bolt:** Once cooled, use a wrench on the welded nut to turn the broken bolt counter-clockwise and remove it.
This technique leverages heat and a solid grip to overcome even the most stubborn broken bolts.
Method 4: Gripping and Turning with Pliers or Vise Grips
If a small portion of the bolt is protruding above the surface, this can be a viable option.
1. **Grip Firmly:** Use a pair of locking pliers (Vise-Grips) or strong standard pliers to get the tightest possible grip on the exposed part of the bolt.
2. **Turn Slowly:** Apply steady counter-clockwise pressure. If the bolt begins to turn, continue with slow, even pressure. You may need to re-grip multiple times.
When Other Methods Fail: Drilling Out the Bolt
If all else fails, the last resort is to drill out the entire bolt. This requires precision to avoid damaging the threads of the hole.
* Drill progressively larger holes through the center of the bolt.
* The goal is to obliterate the bolt material without touching the surrounding threads.
* Once the bolt is sufficiently drilled out, you may be able to pick out the remaining thread remnants with a pick or scribe.
* If the threads are damaged, you may need to use a thread repair kit (like a Heli-Coil) to re-thread the hole.
FAQ Section
1. **How do I prevent bolts from breaking in the future?**
Always use the correctly sized and rated bolts for the application. Avoid over-tightening by using a torque wrench when specifications are available. Apply anti-seize compound to threads, especially in high-heat or corrosive environments.
2. **What is the best penetrating oil for rusted bolts?**
There are many effective penetrating oils on the market, such as PB Blaster, WD-40 Specialist Penetrant, or Kroil. The best choice often depends on the severity of the rust.
3. **Can I use heat to remove a broken bolt?**
Yes, applying heat with a propane torch or heat gun can be very effective, especially when combined with penetrating oil. The expansion and contraction of the metal can help break the bond. However, be mindful of surrounding materials that could be damaged by heat.
In conclusion, removing a broken bolt is a task that requires patience, the right tools, and a methodical approach. By understanding the different methods available, from simple penetrating oil applications to more advanced welding techniques, you can tackle this common automotive and DIY problem effectively. Always prioritize safety by wearing appropriate protective gear and carefully assessing the situation before choosing your removal strategy. With practice and the right techniques, you’ll be able to conquer even the most stubborn broken bolts and get your projects completed successfully.